


Exports
Export trace data as CSV on demand or on a recurring schedule to an S3 bucket.
Traces can be exported as CSV in two ways: a one-off export triggered directly from the Observatory, or a recurring scheduled export that uploads to your preferred data store on a set frequency.
One-Off Export
Export traces on demand from the traces list in the Observatory. You can export based on a time range and filters, or export a specific selection of traces you've checked in the table.
To export traces:
- Navigate to Observatory → Traces
- Apply any filters or select specific rows you want to export
- Click Export in the toolbar
- If exporting by time range: set the Time range and optionally refine with filters
- Click Start export
For exports with 100 or fewer traces, the CSV downloads immediately to your browser. For larger exports, the file is generated in the background and you'll receive an email with a download link when it's ready.
Scheduled Exports
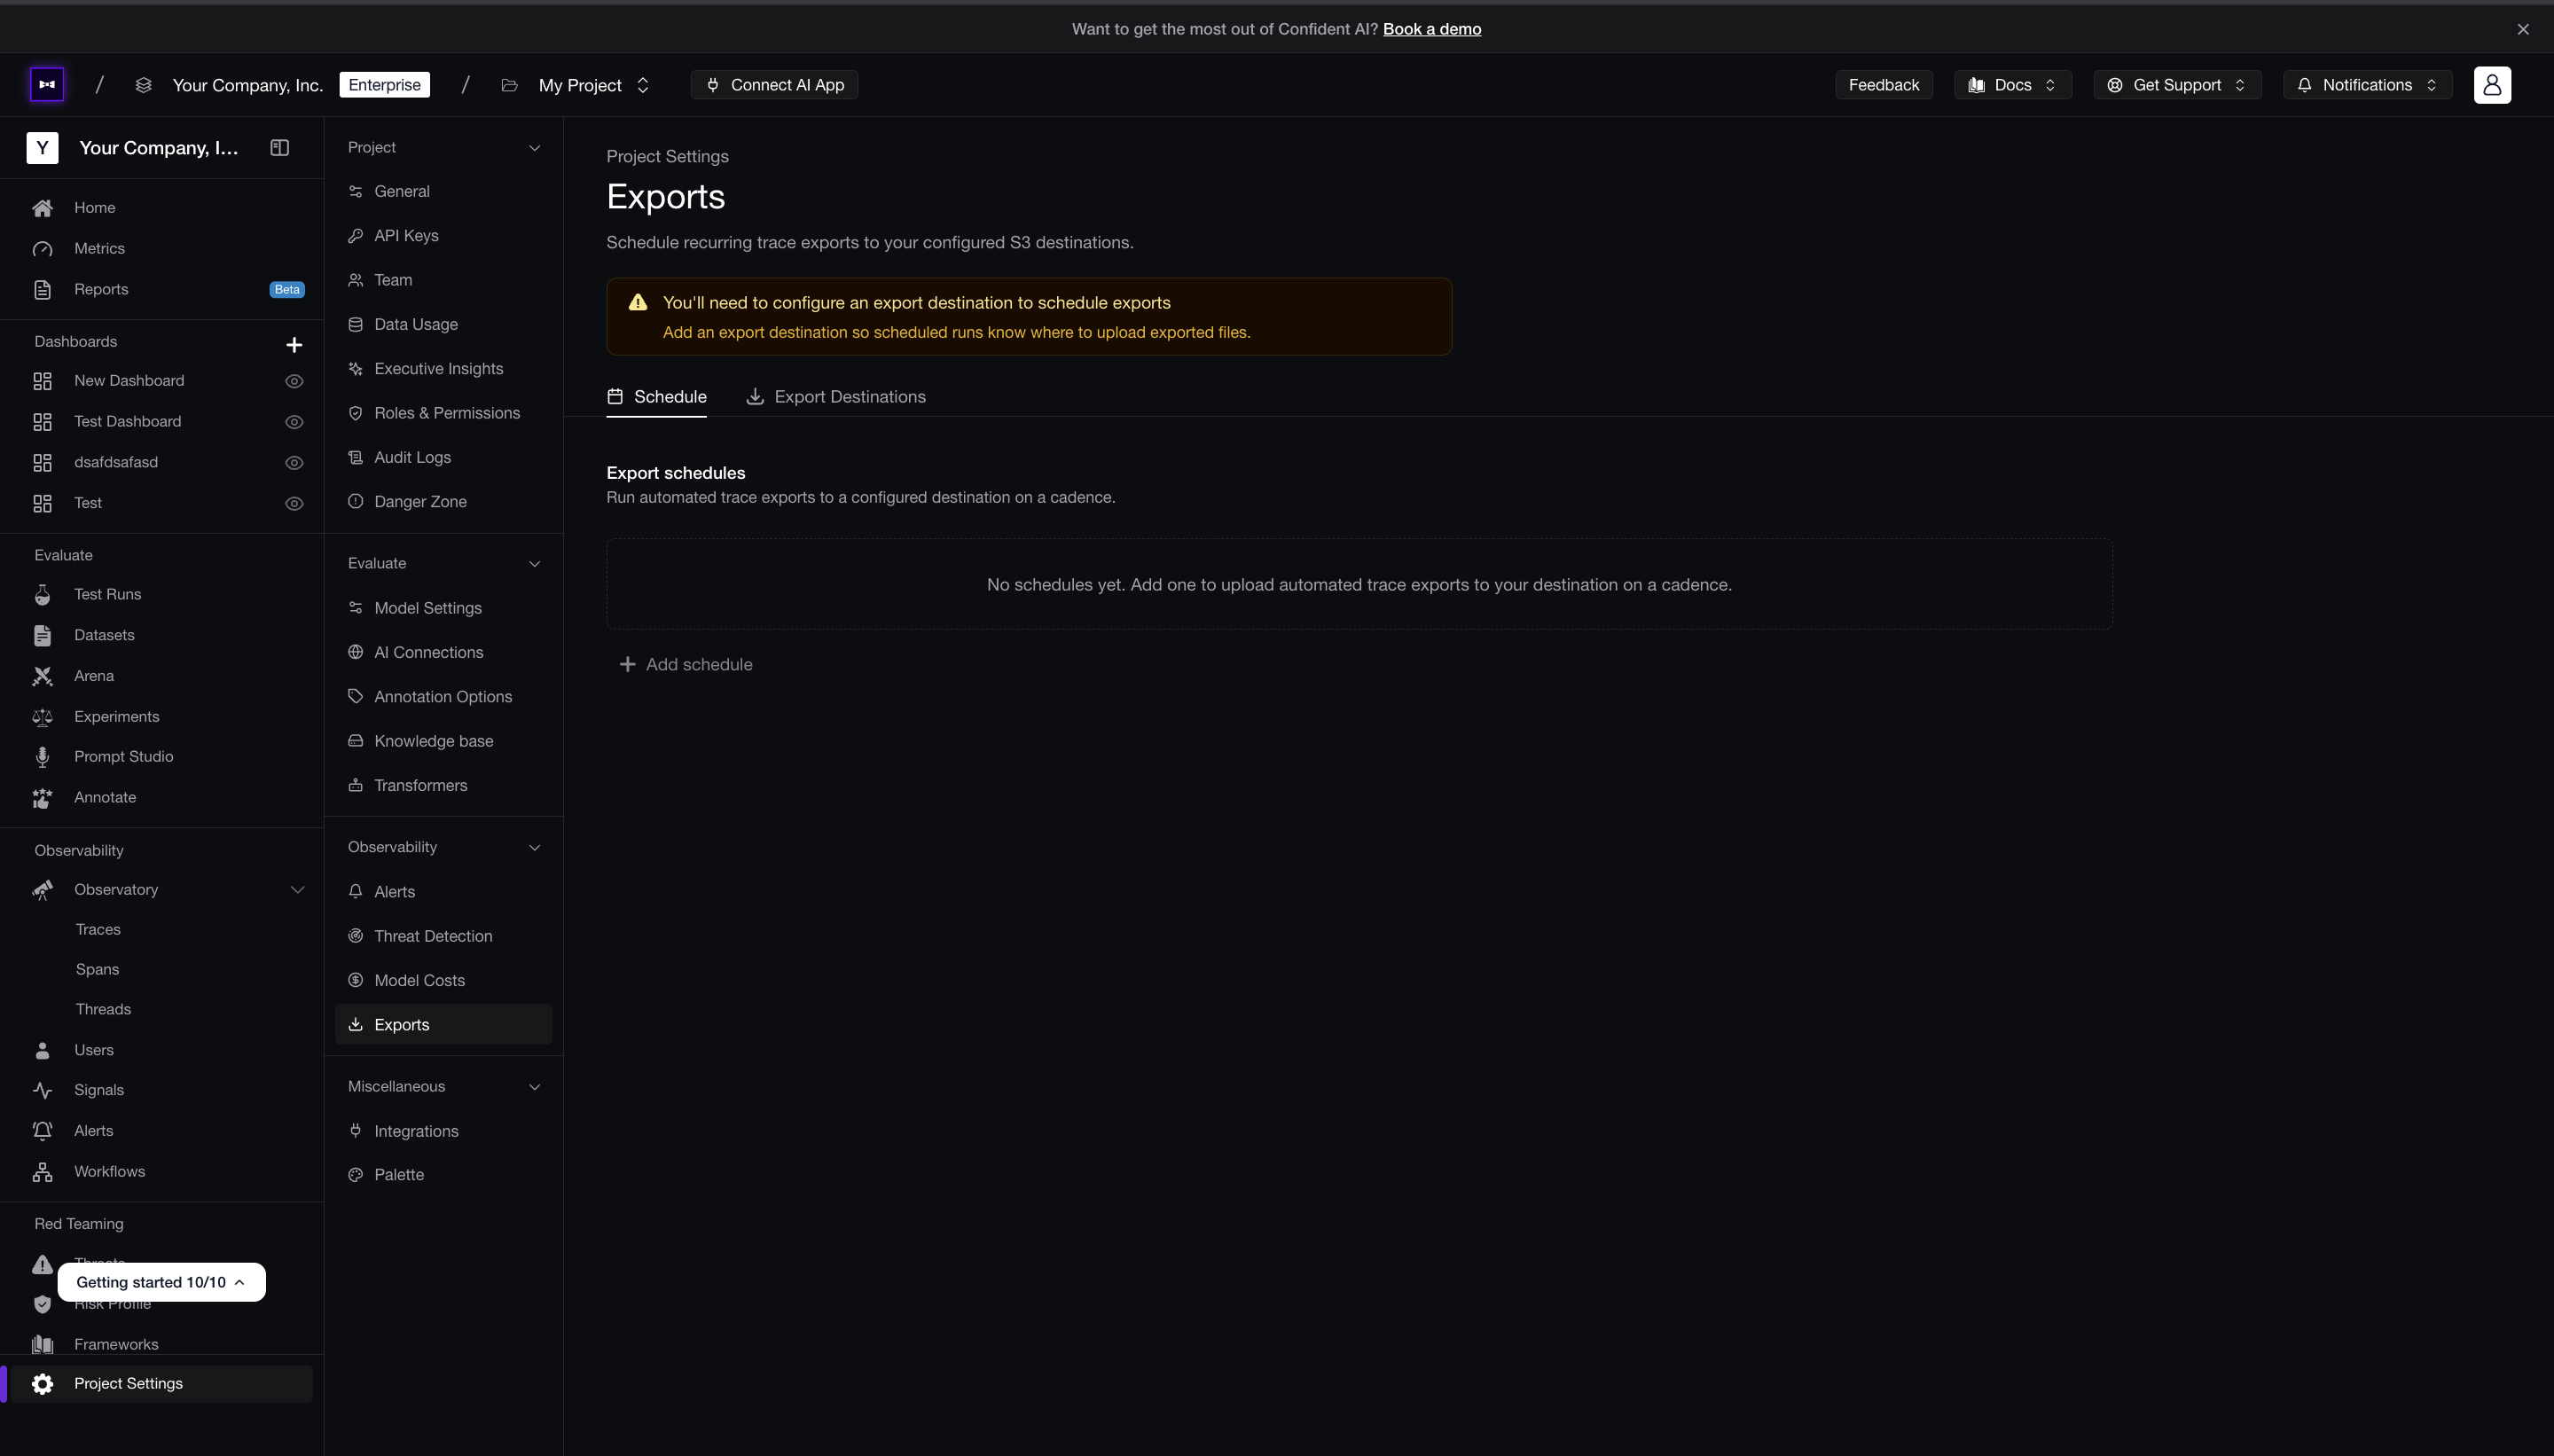
Schedule recurring exports that automatically upload a CSV to a data store at a chosen frequency. This is configured under Project Settings → Exports, in the Export Destinations and Schedule tabs.
Export Destinations
An export destination defines the data store where scheduled export files are uploaded.
To add an export destination:
- Navigate to Project Settings → Exports → Export Destinations
- Create and Save a New destination
Schedules
A schedule defines what to export, how often, and to which destination. Each run exports a CSV to your data store.
To create a schedule:
-
Navigate to Project Settings → Exports → Schedule
-
Click New schedule
-
Configure the schedule:
- Destination — select a configured export destination
- Name — a concise identifier for this schedule
- Frequency — how often the export runs; each run covers data from the previous interval
Frequency Interval covered Every 30 minutes Previous 30 minutes Hourly Previous hour Daily Previous day Weekly Previous week Monthly Previous month - Filters — optionally limit the export to traces matching specific conditions; leave empty to export all traces in each window
- Description (optional) — internal context about the schedule's purpose or owner
-
Click Create schedule