


Threat Detection
Automatically scan incoming traces and threads for security vulnerabilities.
Threat Detection continuously scans incoming traces and threads against your project's configured vulnerabilities. When a threat is found, a detection is attached to the trace or thread and surfaces in the Detections tab of the relevant detail view, so you can pinpoint exactly where a security compromise occurred.
The Threat Detection page has two tabs — Trace and Threads — each configured independently.
Enable threat detection
To enable threat detection for traces:
- Navigate to Project Settings → Threat Detection
- Select the Trace tab
- Toggle Enable trace detection on
- Set a Sample rate between
0.0and1.0— this is the probability that any given incoming trace is scanned - Click Save
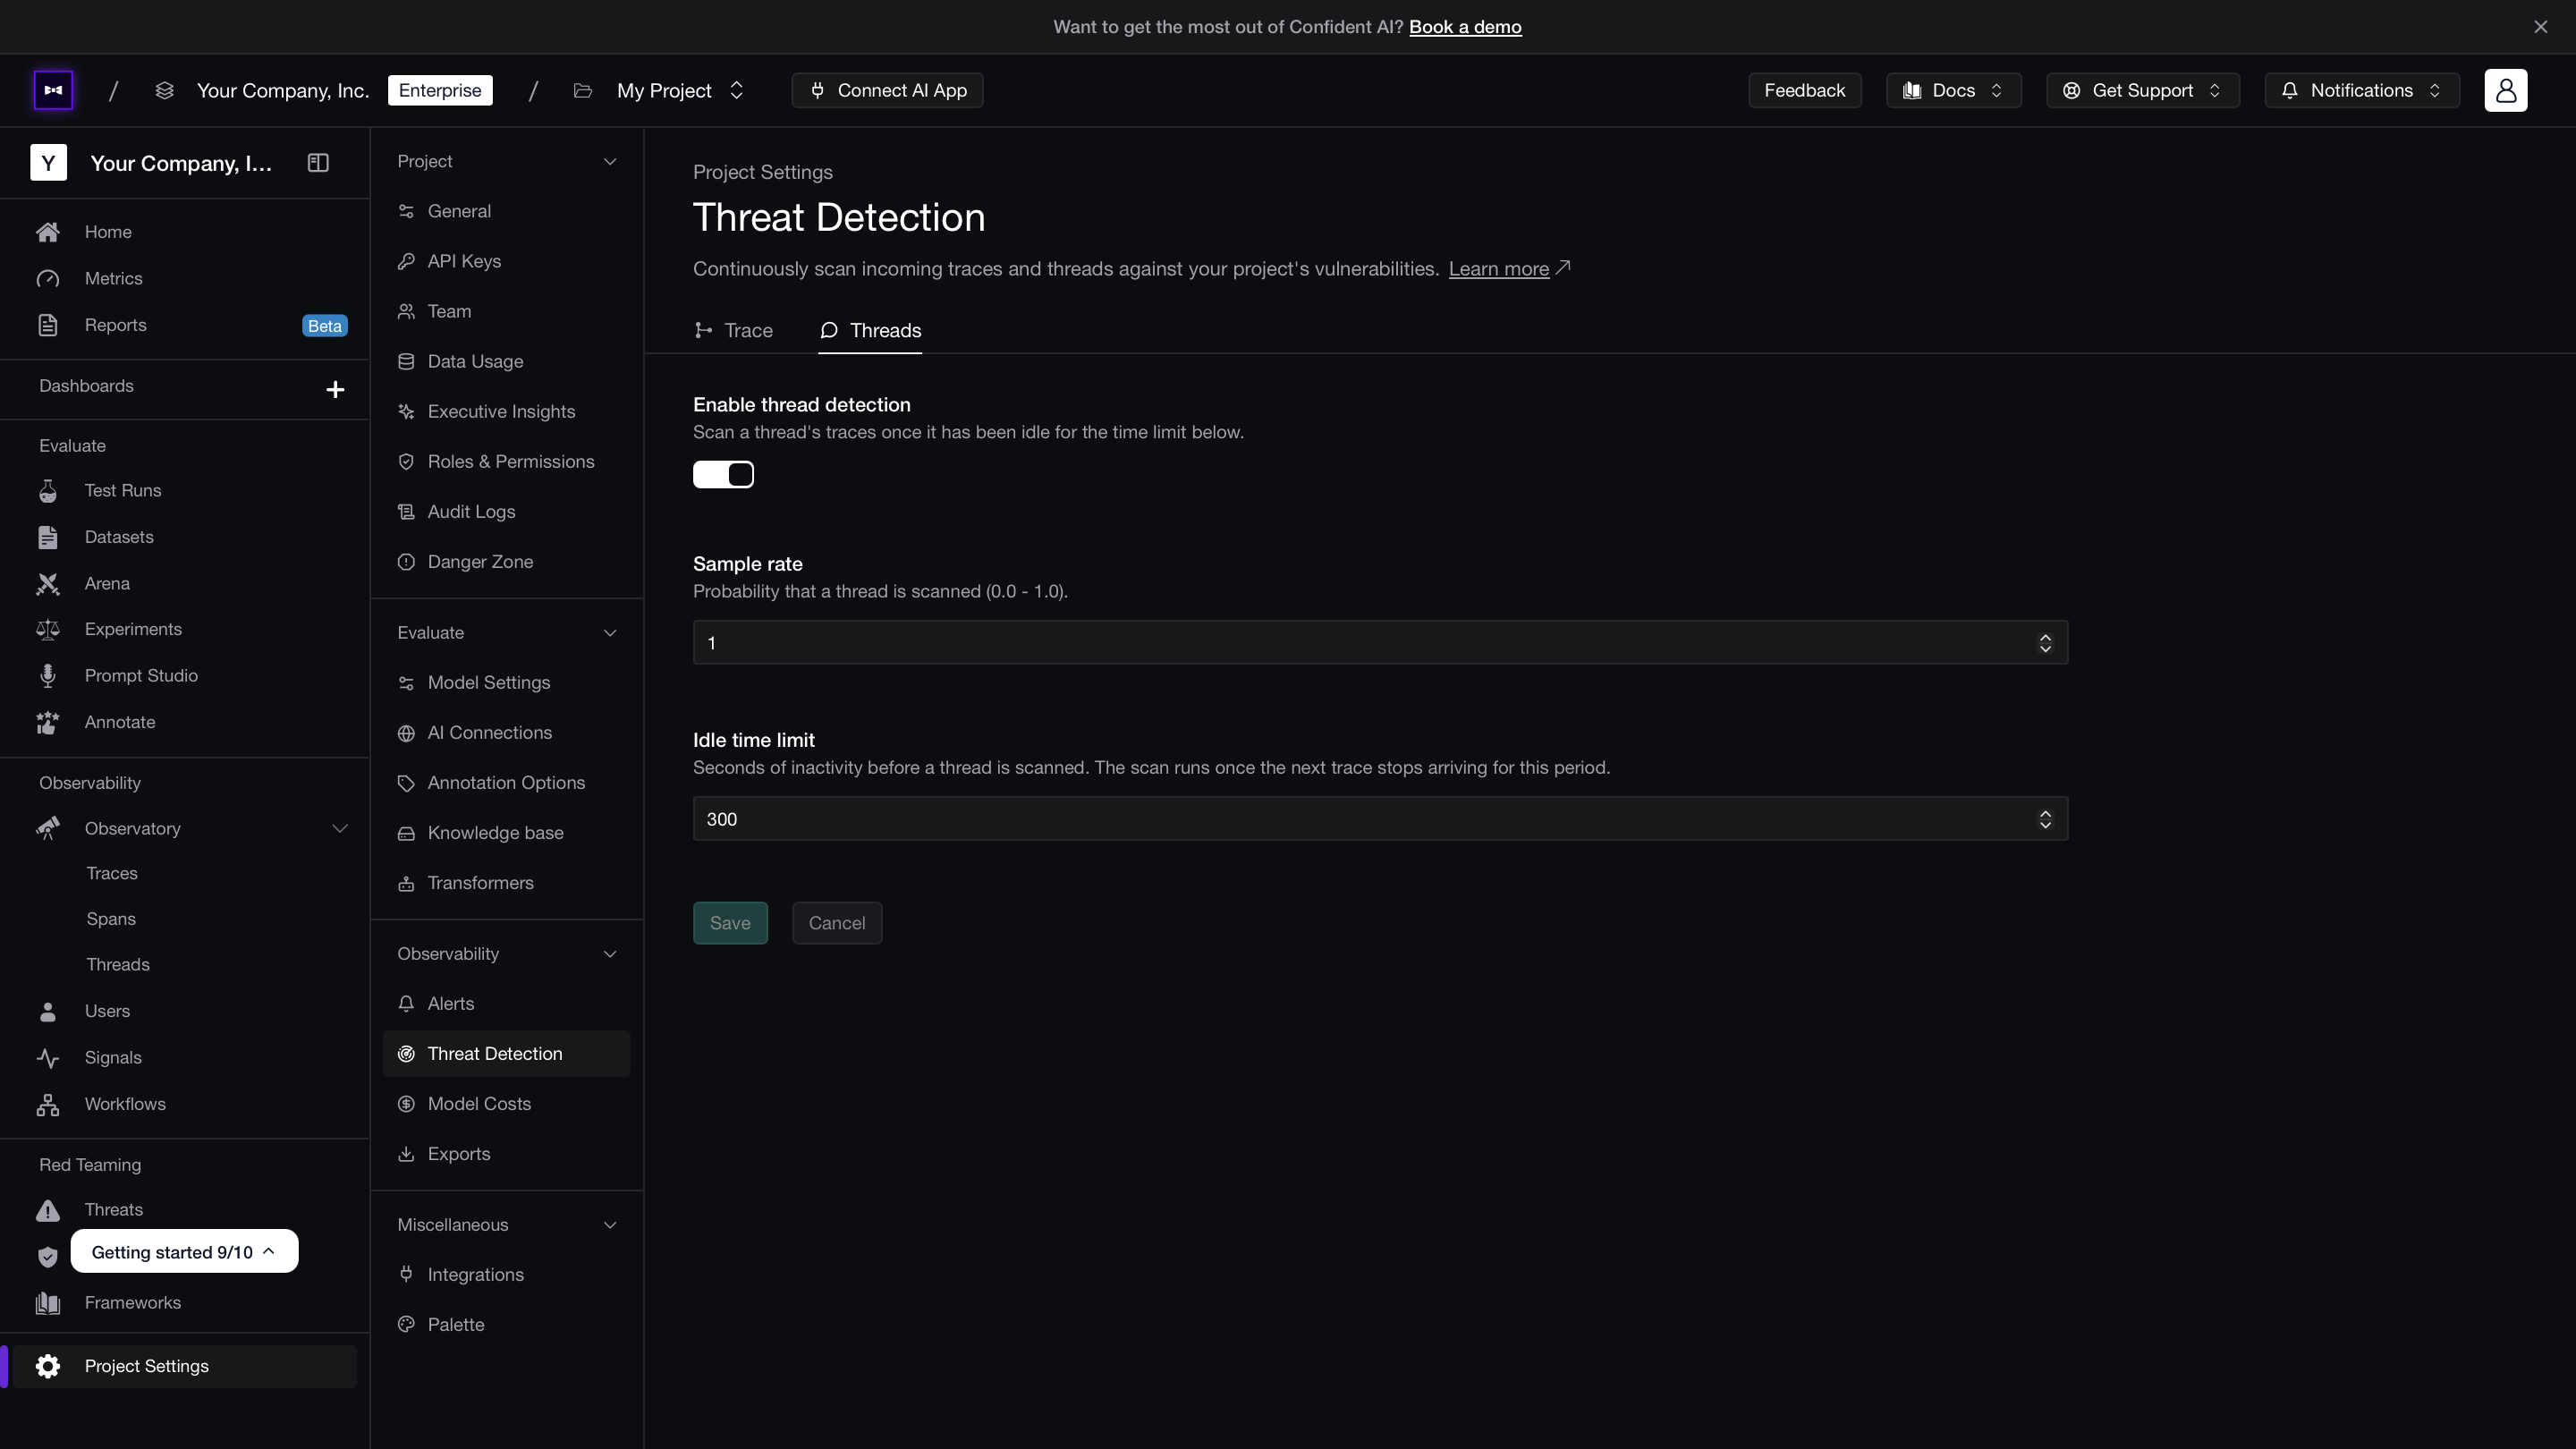
To enable threat detection for threads:
- Navigate to Project Settings → Threat Detection
- Select the Threads tab
- Toggle Enable thread detection on
- Set a Sample rate between
0.0and1.0 - Set an Idle time limit — the number of seconds of inactivity before a thread is scanned; the scan runs once no new trace has arrived for this period
- Click Save
Configuration reference
| Setting | Scope | Description |
|---|---|---|
| Enable detection | Trace, Threads | Turns scanning on or off for the selected data model. |
| Sample rate | Trace, Threads | Fraction of incoming traces or threads that are scanned. 1.0 scans everything; 0.1 scans one in ten. |
| Idle time limit | Threads only | Seconds of inactivity before a thread is eligible for scanning. Use this to avoid scanning mid-conversation threads. |
Viewing detections
When a threat is detected, it appears under the Detections tab on the trace or thread detail view. Each detection shows:
- Vulnerability — the vulnerability name and type (e.g.
Prompt Injection › Direct Attack) - Outcome — how the threat resolved
| Outcome | Meaning |
|---|---|
| Materialized | The attack succeeded — the vulnerability was exploited. |
| Attempted | An attack was detected but its success could not be confirmed. |
| Mitigated | The attack was detected and blocked before it could cause harm. |
- Attack vector — the path or mechanism used in the attack, if identified
- Reason — a short explanation of why this was flagged as a threat
