By now, you've probably seen your fair share of jaw-dropping AI images on your social feeds and thought to yourself, "How are people creating these amazing images?" So, you jump onto Midjourney, eager to create your own. But what you produce isn't quite what you expected. You try again, only to be disappointed once more. Sound familiar?
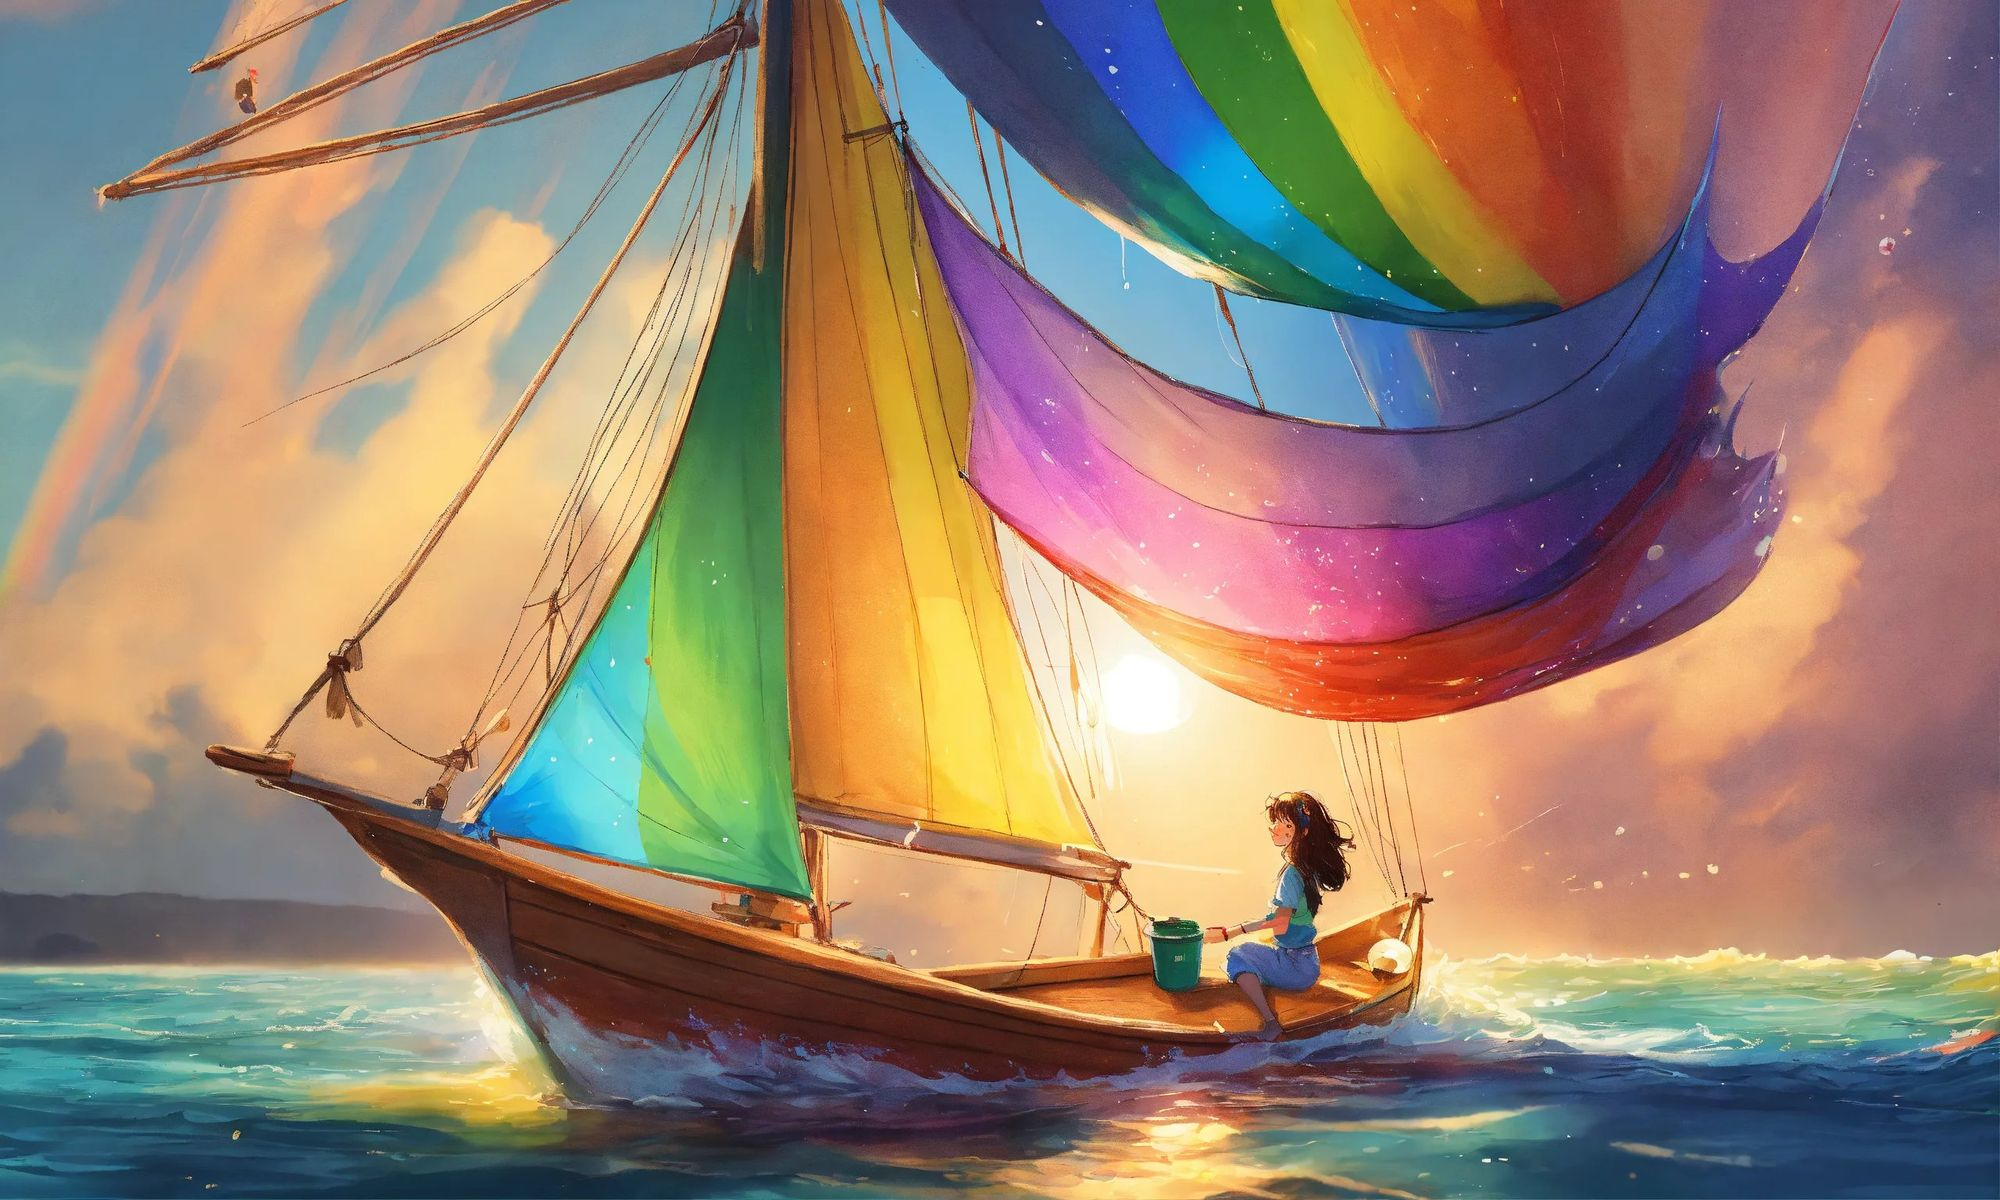
In order to generate what you desire, you need to know how to prompt Midjourney's LLM the right way and to be honest, I've spent my fair share of time failing to generate what I want for Confident's weekly blog post cover images (such as the current one above).
So, are you ready for a light-hearted and interactive tutorial? Lets begin!
Getting Started with your first Midjourney artwork
To get started with Midjourney, sign up to Discord if you haven't already and complete the registration process. Once you have Discord up and running, open the Midjourney website and click "Join Beta".

Once you've signed up, you can select a paid or a free plan. Users on the free plan can generate images in any one of Midjourney's newbies channels, while paid users can send commands directly to the Midjourney bot.
To begin with your first image, start typing / followed by imagine command. Then, it will let you enter a prompt (a description for generating an image), for example: /imagine prompt: beautiful colorful horse

Congratulations! You just used Midjourney to generate your first image.
How does Midjourney work?
Midjourney uses an LLM (a large language model) to create images from text descriptions. This model has been trained on a vast array of text-image pairs, enabling it to understand and interpret the text prompts to produce similar images.
Let's break down this image creation process.
Analyzing the Prompt
The LLM starts by dissecting the prompt into its core ideas and terms. If you input something like "a photorealistic portrait of a woman," the system identifies key concepts like "photorealistic," "portrait," and "woman."
A basic Midjourney prompt looks like this:

While a more advanced prompt may look like this:

We'll get back to this later. What's important is to understand that whatever you write is used to create the latent vector in the following step.
Creating a Latent Vector
Next, the LLM translates these concepts into a latent vector. This is a numerical code that captures all the image details - its color palette, shapes, style, objects, and more.
All those parameters are used inside the model to understand your request, by matching the vector to data it already knows and has been trained on.
This is why the following tip by the official Midjourney documentation is so important:
The Midjourney Bot works best with simple, short sentences that describe what you want to see. Avoid long lists of requests. Instead of: "Show me a picture of lots of blooming California poppies, make them bright, vibrant orange, and draw them in an illustrated style with colored pencils," try: "Bright orange California poppies drawn with colored pencils."
This means you're more likely to get better results with shorter prompts!
Using a Diffusion Model to generate the image
The final step of generating the image involves converting this latent vector into the actual image. This is where a diffusion model comes into play. It's a kind of AI that can form images from seemingly random patterns.
Starting with a blank canvas, the model slowly refines the image, adding layers of detail until it reflects what the latent vector describes. The way it adds this 'noise' is controlled, making sure the final image is clear and recognizable.
Other well-known generative AI platforms such as Stable Diffusion uses the same technics.
This is also the reason while waiting for Midjourney to complete its image creation, you notice blurry images which eventually turn into amazing art work.

The basics
Begin with a short prompt, and focus on what you want to create - our subject. Let's say we are interested in creating a portrait of a woman. We can begin with something like this: /imagine A portrait of a young woman with light blue eyes

Once we have our initial image, it is all about iterations and improvements. We can now focus on details that matter, such as medium, mood, composition, environment.
Let's say we want to get a more realistic photo: /imagine A realistic photo of a young woman with light blue eyes

This one is more realistic; however, let's give it the touch of an old photograph. To achieve that, we can simply add a year, say, 1960.
/imagine A realistic photo of a young woman with light blue eyes, year 1960

We've come a long way by only adding small details, such as the year and the medium type (realistic).
Pro tip: The Midjourney Bot does not comprehend grammar, sentence structure, or words as humans do. Using fewer words means that each one has a more powerful influence.
Now, let's add a composition; for instance, if I am interested in a headshot from above, we can revise our prompt accordingly: /imagine Bird-eye view realistic photo, of a young woman with light blue eyes, 1960

Pretty cool right?
Continue experimenting with various elements such as environment, emotions, colors, and more to discover the diverse outcomes they can produce.

Midjourney, utilizing a well-trained Large Language Model (LLM) and a diffusion model, has the capability to generate a wide range of variations based on your initial image. This allows for a great deal of flexibility and creativity in the image creation process.
By instructing the bot to produce either strong or weak variations, you can refine the output step by step. You might start with a broad concept and then progressively narrow down the details, or you could begin with a highly specific image and explore slight adjustments. The process continues until you reach a result that meets your vision or preference.

For example, asking for a strong variation will result in the following images:

Advanced techniques
Now that we understand the basics of Midjourney's LLM, we can dive into parameters. Parameters are options added to a prompt that change how an image is generated.
Changing aspect ratio
Pro tip: parameters are always added at the end of the prompt
One of the most important parameters is the aspect ratio. Midjourney's default aspect ratio is square (1:1), but what if we want to create a great cover image (such as this article's cover) or a portrait image? We just need to add --ar at the end of the prompt.
For example: /imagine Bird-eye view realistic photo, of a young woman with light blue eyes, 1960 --ar 1:2

Notice the --ar followed by the aspect ratio.
The Eval Platform for AI Quality & Observability
Confident AI is the leading platform to evaluate AI apps on the cloud, with metrics open-sourced through DeepEval.
Getting more artistic
Using styles
The --style parameter replaces the default style of some Midjourney Model Versions. Using --style raw will result in a more accurate prompt style, and less beautification.
Let's have a look at the following example: /imagine cat icon will generate this kind of image, which is beautiful, but not really an icon:

If we add --style raw to it, Midjourney will generate a much more relevant image:
Niji model
Midjourney has an alternative model called niji 5which allows to use other style parameters. Adding --niji 5 followed by different styles such as: cute, expressive, original or scenic will result in more sophisticated images.
/imagine cat --niji 5 --style cute

As an LLM-based generator, Midjourney is trained on a huge amount of data, incorporating different artistic styles. Providing a --stylize parameter influences how strongly this training is applied, with the range being between 0 and 1000; higher values will generate a more artistic image.
/imagine child's drawing of a dog

Here comes the fun part. But before we start, I would like to share with you the way I create nice photos and understand Midjourney LLM better.
Finding inspirations
When looking for inspiration, I head to the Midjourney Showcase page where I look for inspiring photos. Once I've found one, I download the photo and ask Midjourney to describe it. This process is similar to the reverse engineering of the LLM, which reveals how Midjourney transforms text to image.
For example, I have found this image interesting:

And asked Midjourney to describe it using /describe command.

That's a good starting point for your next image generation. Take the keywords that created this image and use them to generate images with a similar look and feel. Here, I noticed the text "a polygonal elephant in a dark background", which is dominant, but also "in the style of graphic design influence, Stephen Shortridge".
Pro tip: Midjourney knows how to generate images in the style of a given artist
Prompt /imagine a polygonal elephant, in the style of Stephen Shortridge

Let's get weird
We can get unconventional images with the --weird parameter. When using this parameter, Midjourney creates unique and unexpected outcomes. --weirdaccepts values from 0 to 3000 (the default is 0), and the higher the value we provide, the more unexpected the outcome is.
/imagine elephant --weird ...

Permutations
What if we wish to try different colors, say red/green/blue/yellow elephant?
We can use permutations by adding { ... } to our prompt, comma separating our permutations.
/imagine a { red, green, blue, yellow } elephant
This will create 4 Midjourney jobs in a single shot.

Midjourney Tiles
This is probably one of the most amazing, yet hidden, Midjourney features. The --tile parameter will generate an image which can be repeatedly used as a tile.
/imagine watercolor elephant --tile
Final thoughts
Understanding Midjourney LLM allows you to generate majestic images and photos. Don't forget to tweak parameters, optimize your prompts, and follow all the other steps in this article to generate images exactly how you want!
Thank you so much for reading, and see you next week.
Do you want to brainstorm how to evaluate your LLM (application)? Ask us anything in our discord. I might give you an "aha!" moment, who knows?
The Eval Platform for AI Quality & Observability
Confident AI is the leading platform to evaluate AI apps on the cloud, with metrics open-sourced through DeepEval.